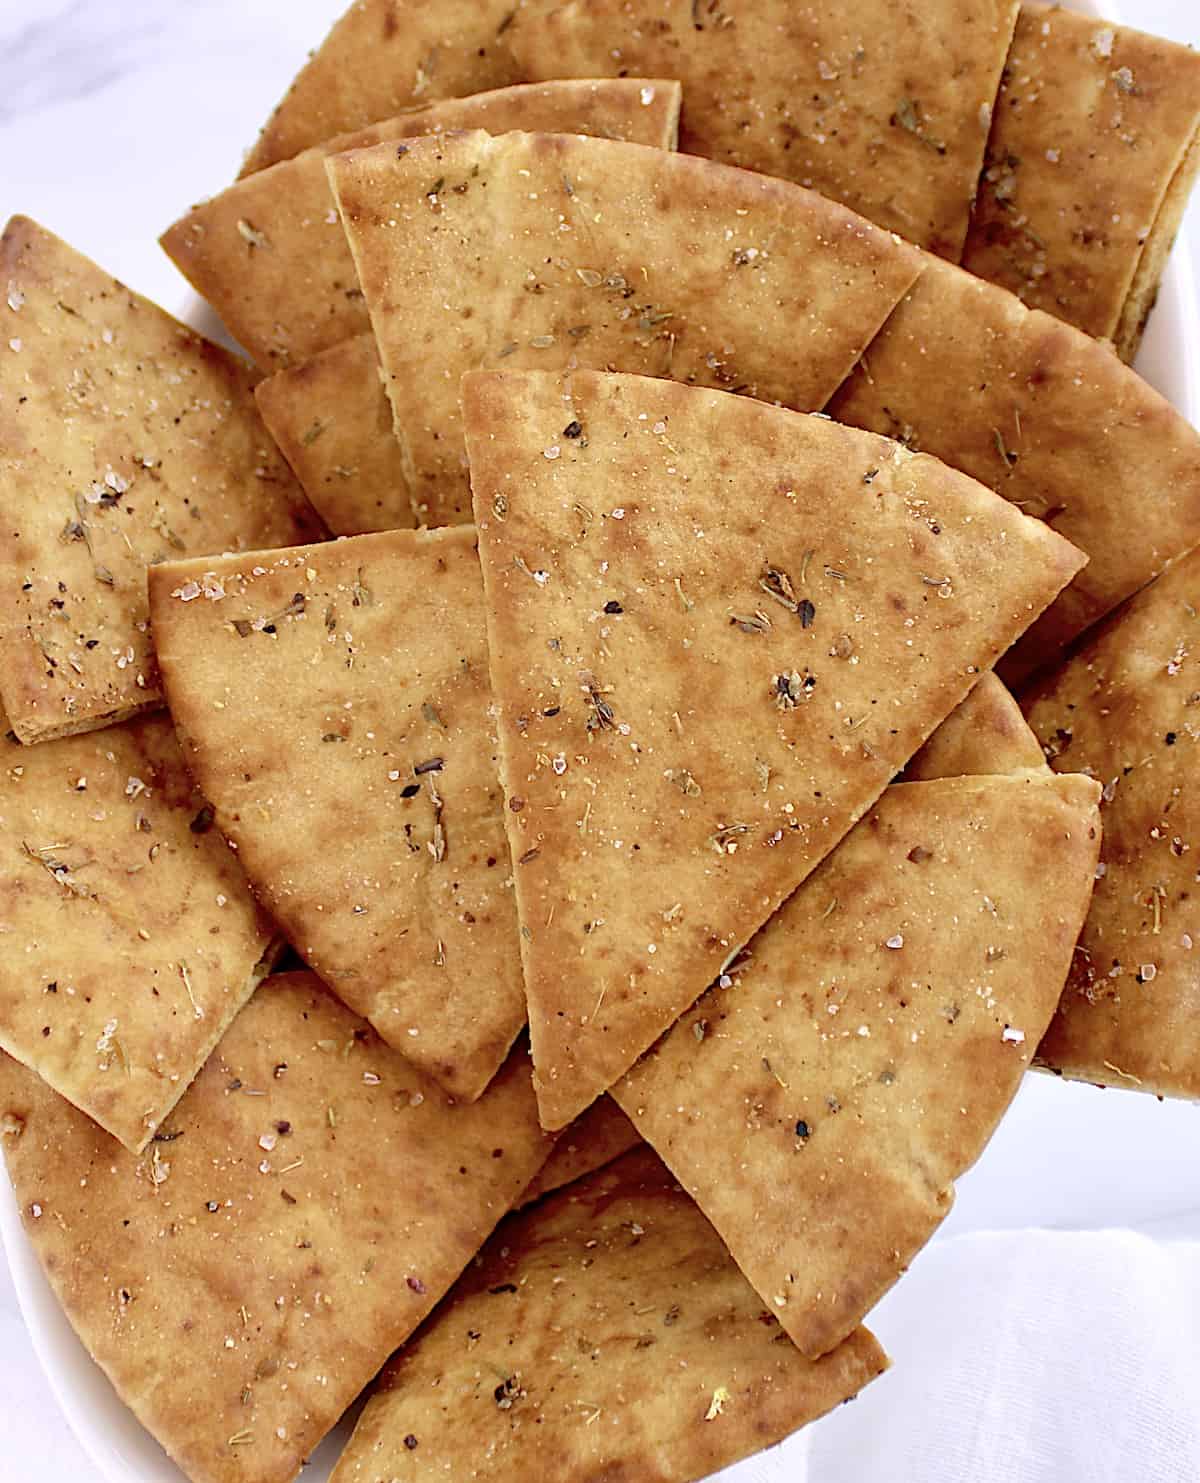
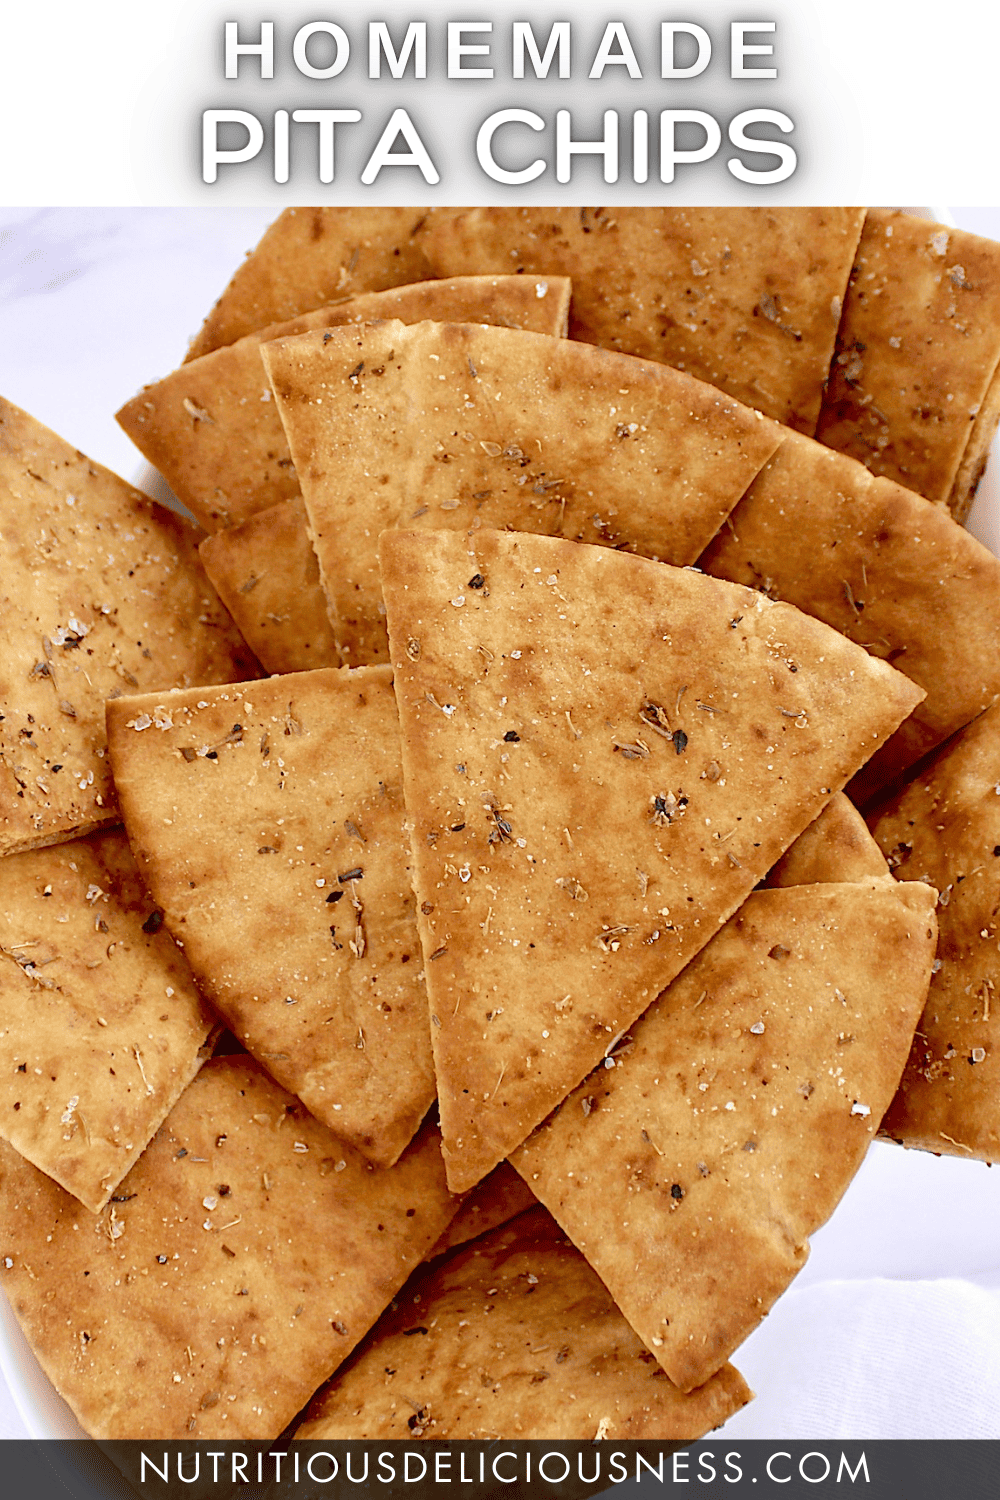
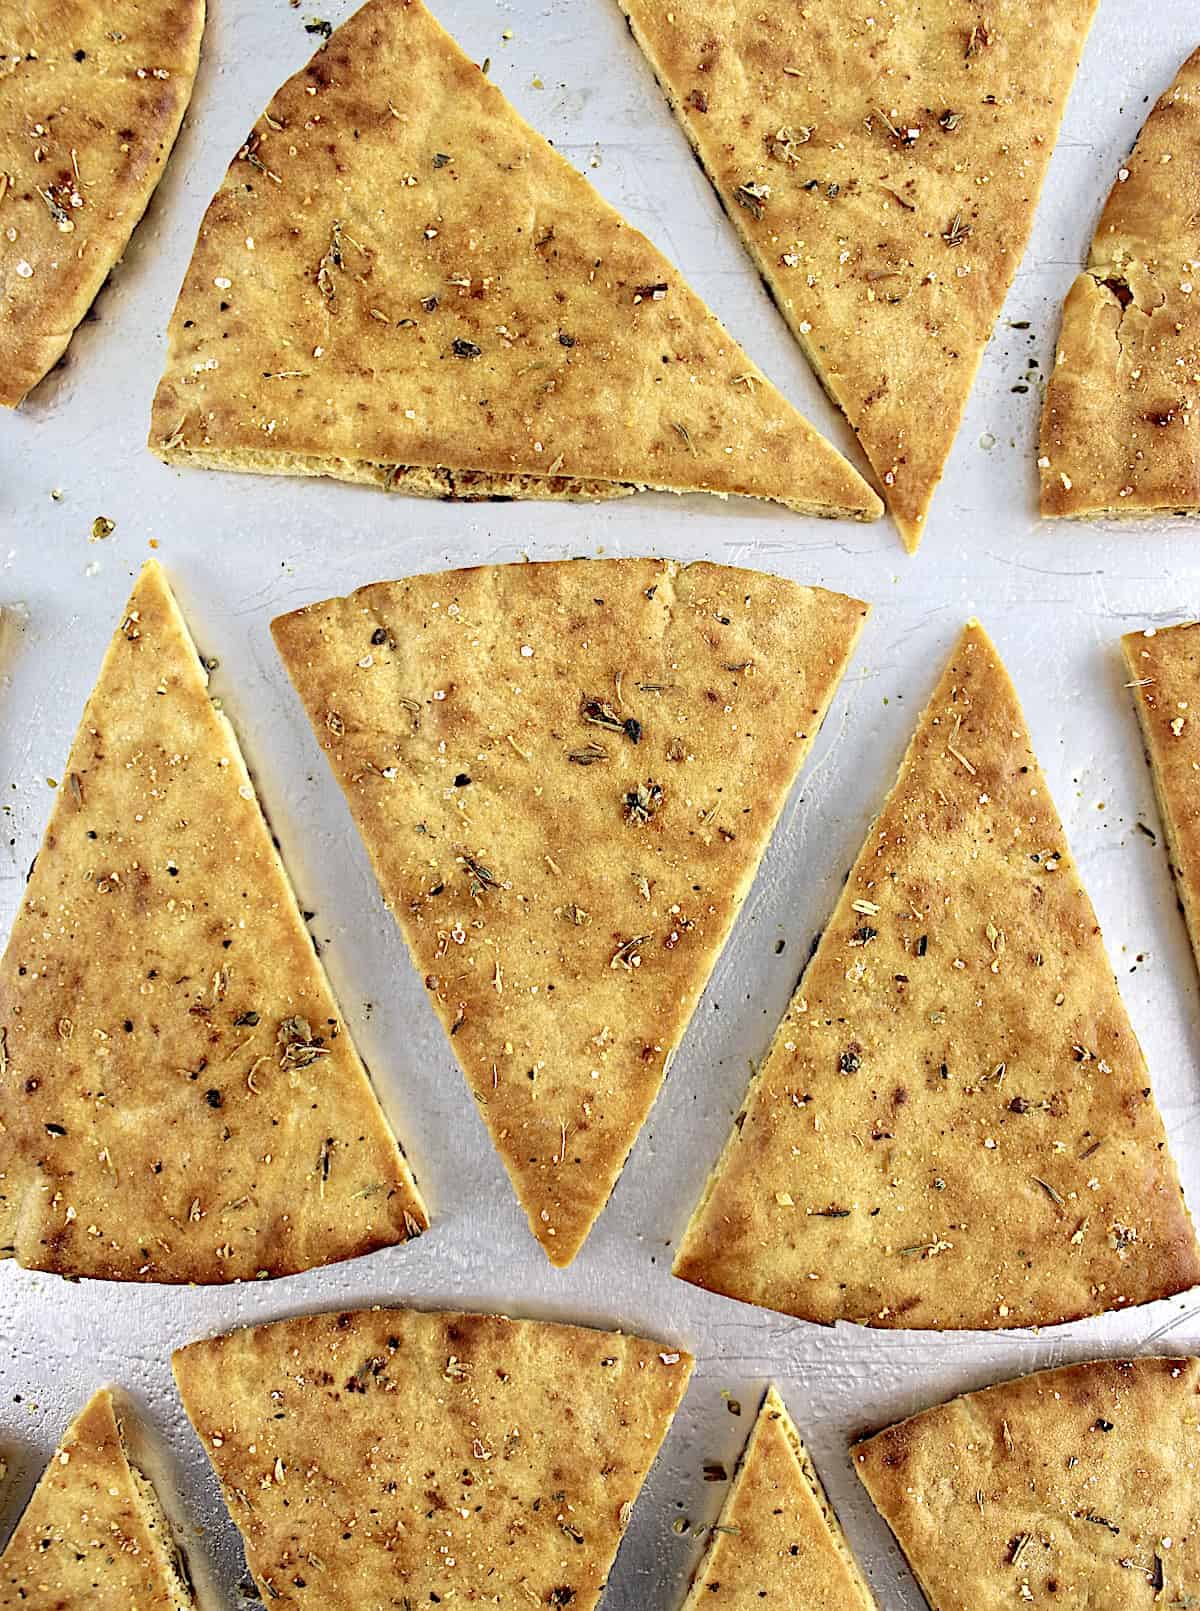
These flavorfully seasoned Homemade Pita Chips are baked to crispy perfection in just 10 minutes. So much better than store-bought, they're a delicious accompaniment to any of your favorite dips or spreads.
10 EASY HEALTHY RECIPES EBOOK
Jump to:
- ❤️ Why You'll Love These Homemade Pita Chips
- 🛒 Ingredients for Homemade Pita Chips
- 🔪 How to Make Pita Chips
- 💡 Tips for Making Your Own Pita Chips
- ☑️ Storage Instructions
- 🍴 What to Serve with Homemade Pita Chips
- 🔄 Substitutions and Additions
- Are Homemade Pita Chips Healthy?
- Can I Use Flavored Olive Oils?
- Can I Make Them in the Air Fryer?
- Are These Pita Chips Gluten-free?
- Are Pita Chips Considered Bread?
- 🍽️ More Tasty Appetizer Recipes
❤️ Why You'll Love These Homemade Pita Chips
- Perfectly seasoned and flavorful
- Baked until crispy
- Easy to make in just 15 minutes
- Serve with your favorite dip
- Vegan
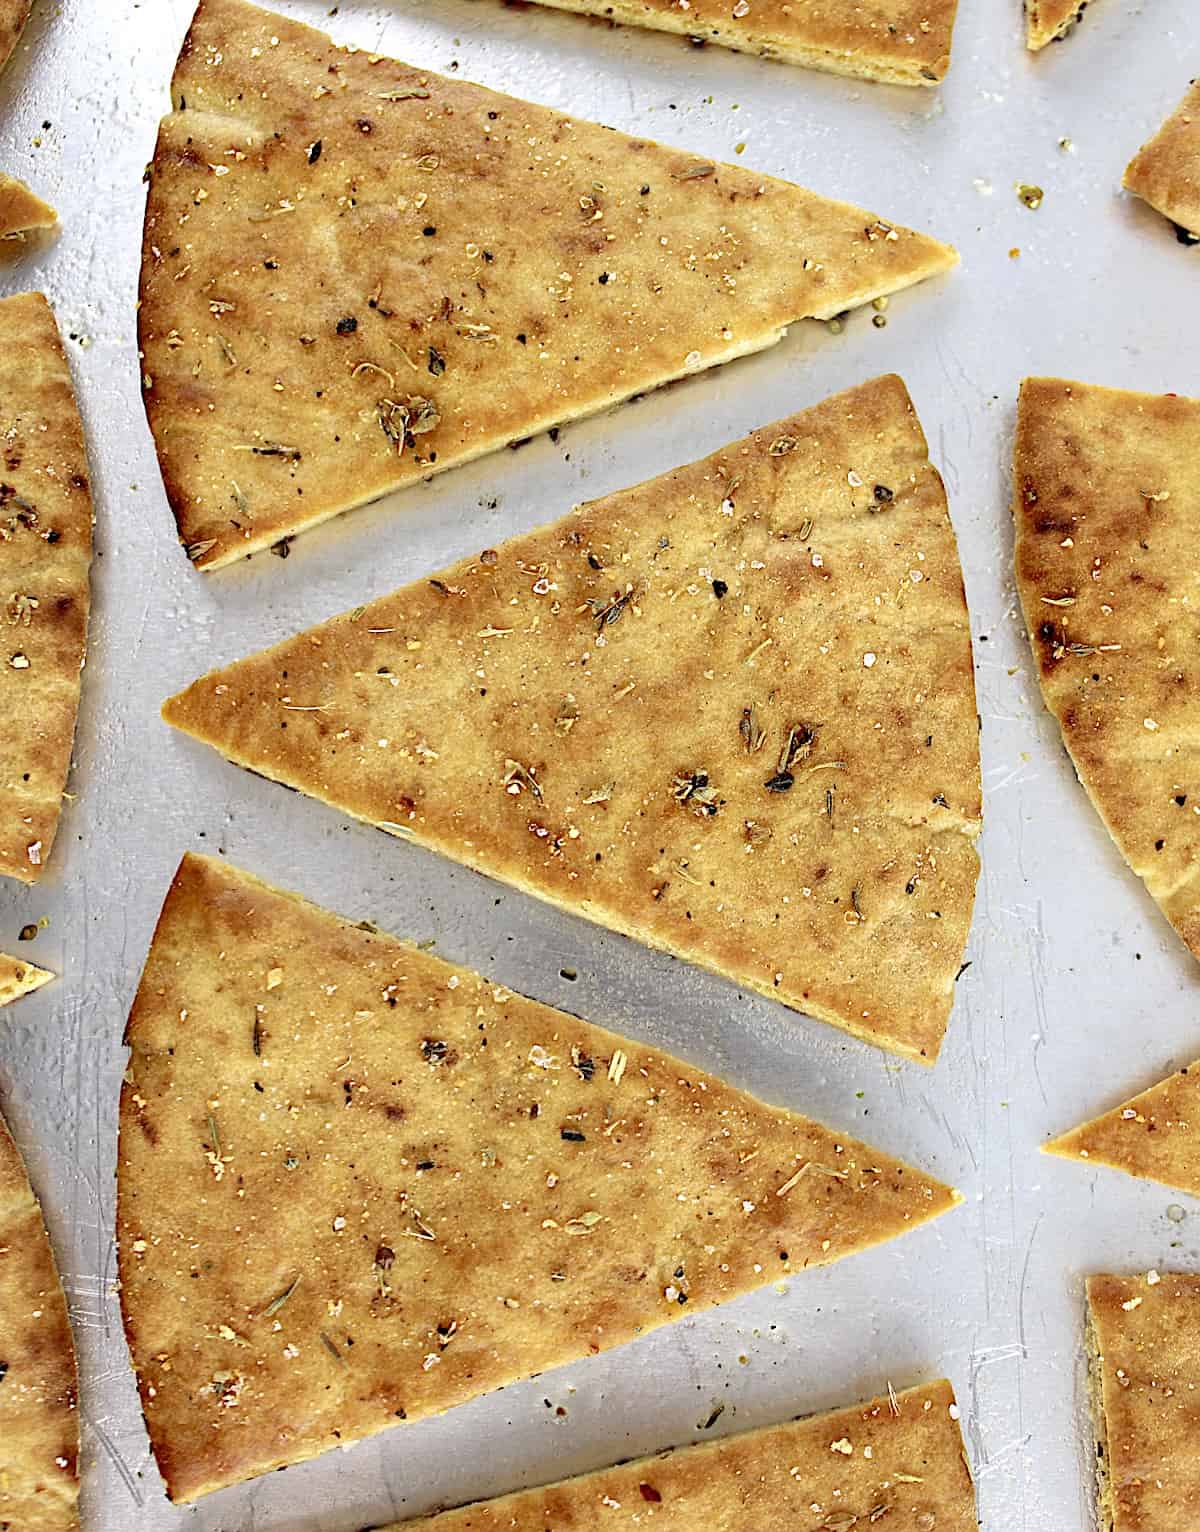
If you're looking for a tasty and crunchy snack that's easy to whip up, these homemade pita chips are a must-try. They're perfect whether you're hosting a party and need a delicious appetizer or simply craving a crunchy chip with your favorite dip.
With only a few simple ingredients and just 15 minutes, you can turn regular pita bread into tasty chips that are crispy and full of flavor. Plus, they're baked in the oven, making them a healthier choice than store-bought versions.
If you love making these chips and are looking for other ways to up your snacking game, check out these 4-Seed Crackers, these homemade Gluten-free Tortilla Chips or these Keto Ranch Crackers.
🛒 Ingredients for Homemade Pita Chips
- Pita bread
- Olive oil
- Garlic salt
- Dried oregano
- Dried thyme
- Ground black pepper
*Exact measurements are listed in the recipe card below.
🥣 Recommended Tools
🔪 How to Make Pita Chips
Preheat the oven to 400°F.
Take each pita and cut them into 8 triangles, like slicing a pizza. You can use a pizza cutter, but I just used a sharp knife.
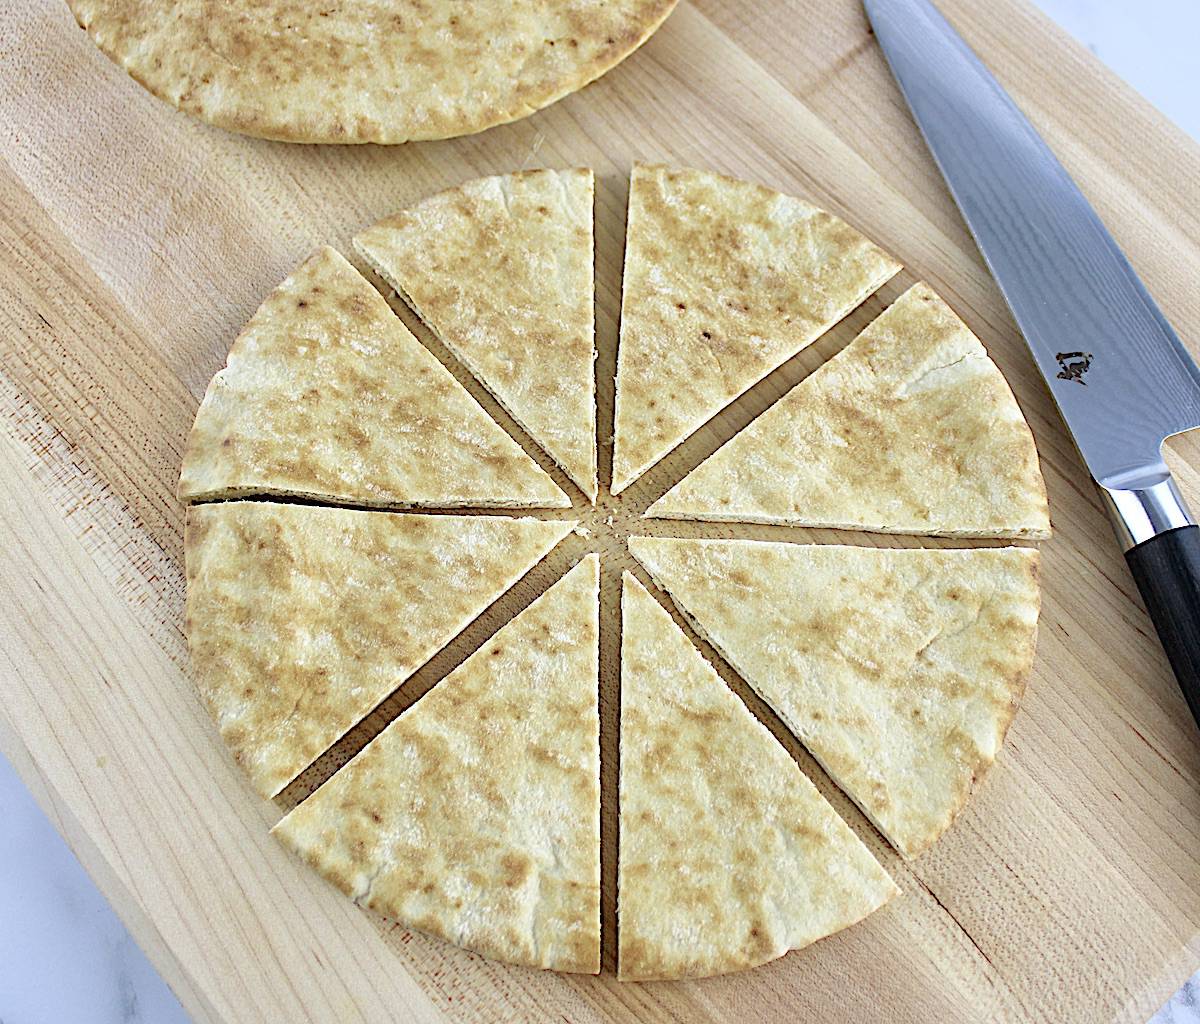
Add them to a large mixing bowl.
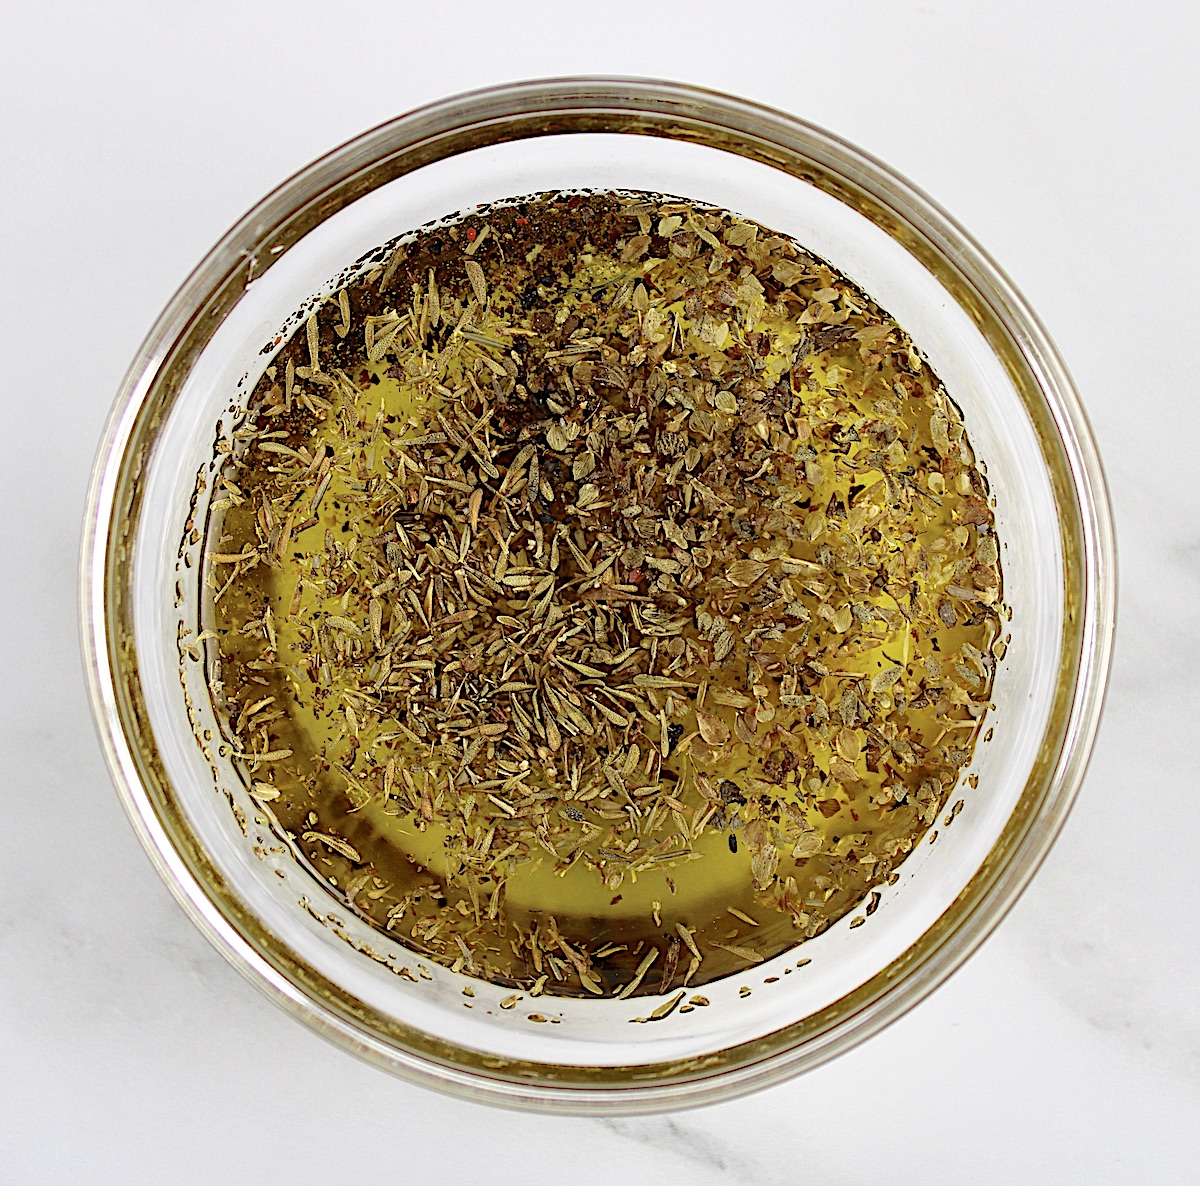
In a small mixing bowl, add the olive oil, thyme, oregano, garlic salt, and ground black pepper.
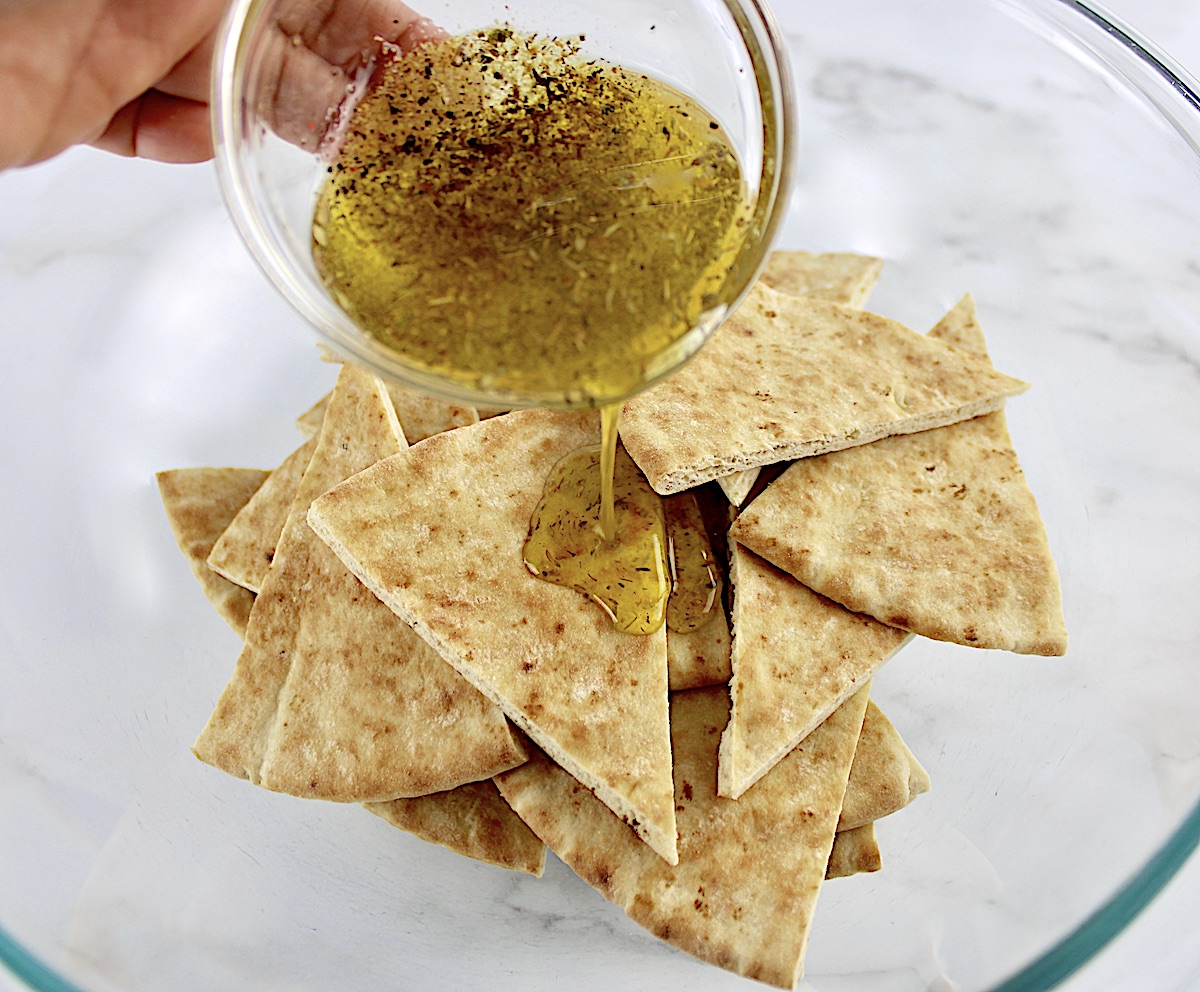
Whisk to combine, then pour over the pita in the mixing bowl.
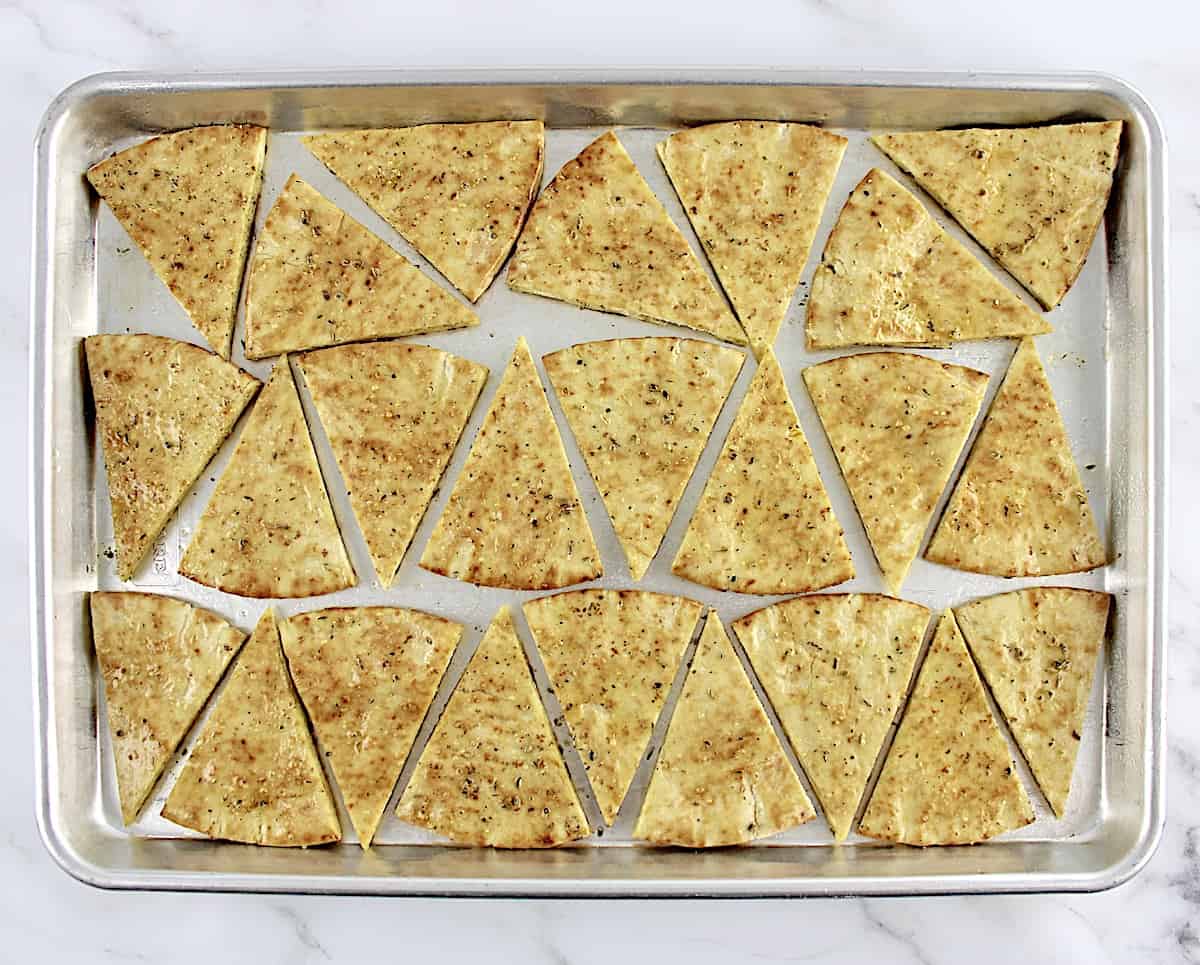
Gently toss to combine, then place them on a baking sheet that’s been brushed or sprayed with olive oil. Make sure they are in one layer and not overlapping.
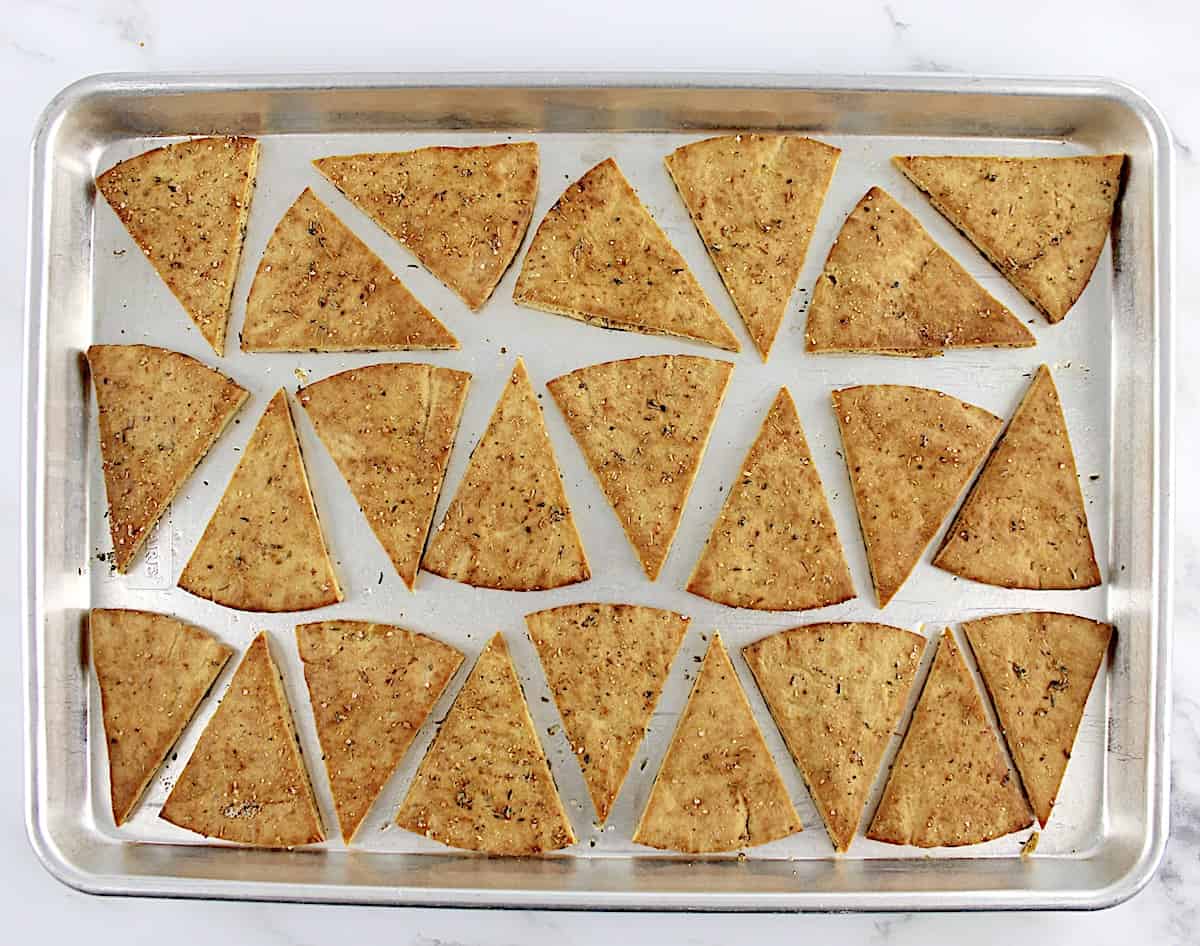
Bake for 9–11 minutes, or until golden and crisp.
Allow them to cool slightly before serving, and they will continue to crisp as they cool.
💡 Tips for Making Your Own Pita Chips
- To ensure they're baked evenly and turn out nice and crispy, bake them in a single layer with a little space between the wedges.
- If you want your chips to be ultra-thin and crispy, you can divide each pita bread in half in a single layer, then cut them into triangles and continue with the recipe as noted. They will not need to bake as long, so keep an eye on them.
- If you're using multiple racks in the oven, or if your oven tends to cook hotter than most, rotate the baking sheet halfway through the cooking time for even baking.
- After baking, transfer the pita chips to a wire rack rather than leaving them on the hot baking sheet. This helps them maintain crispiness.
☑️ Storage Instructions
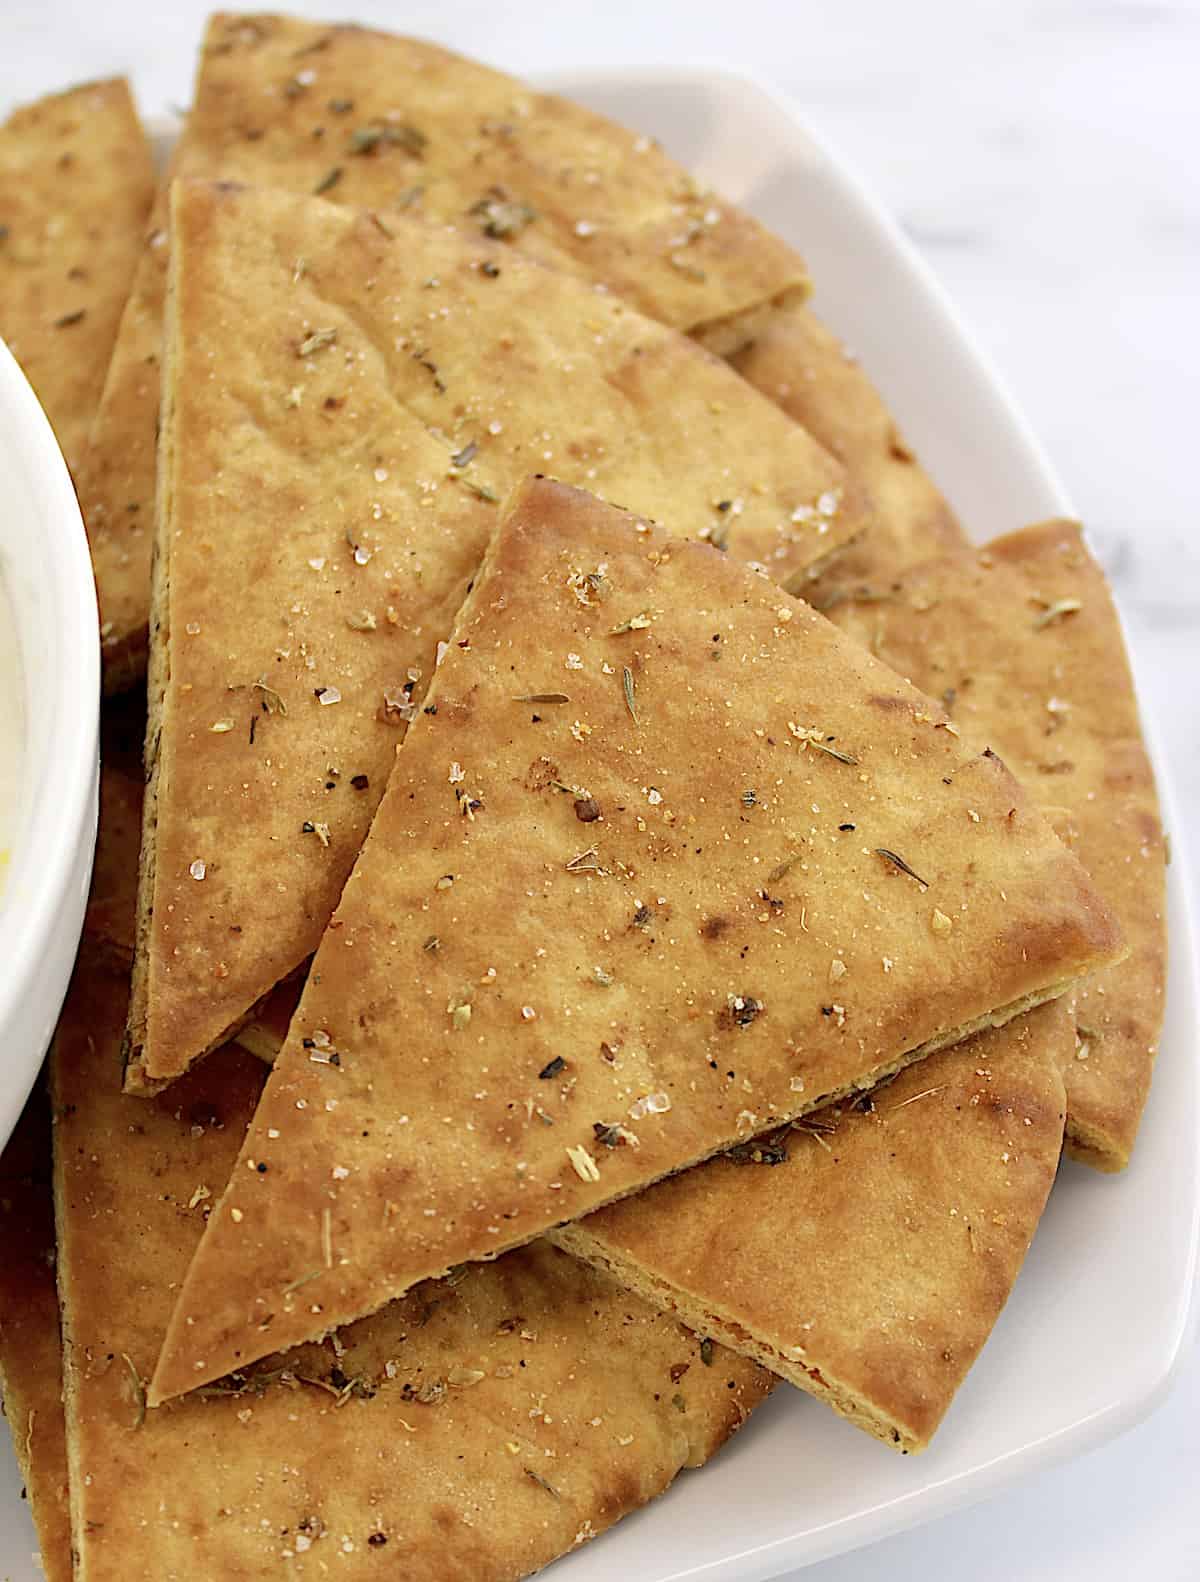
Store the cooled pita chips in an airtight container to maintain their crispiness.
Avoid refrigerating pita chips because the moisture in the fridge can affect their texture. For best results, serve the pita chips within a week.
If the chips lose their crispiness, reheat them in the oven or air fryer for a few minutes before serving.
🍴 What to Serve with Homemade Pita Chips
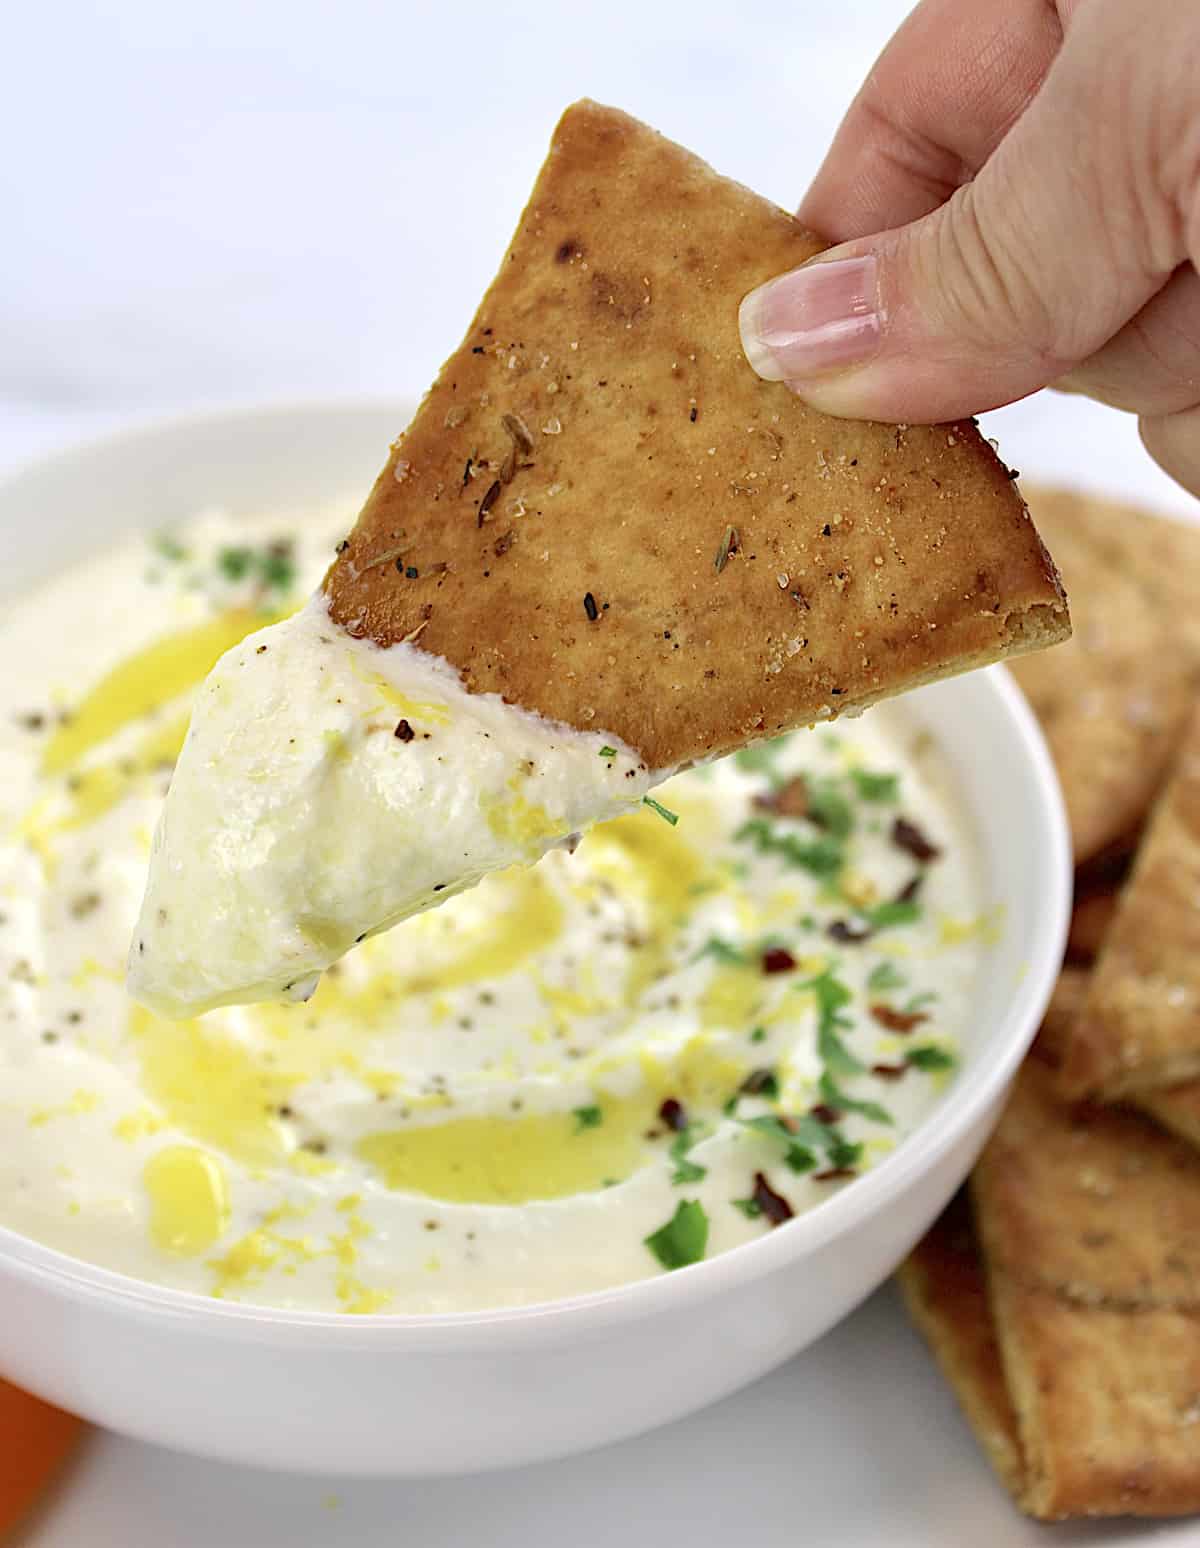
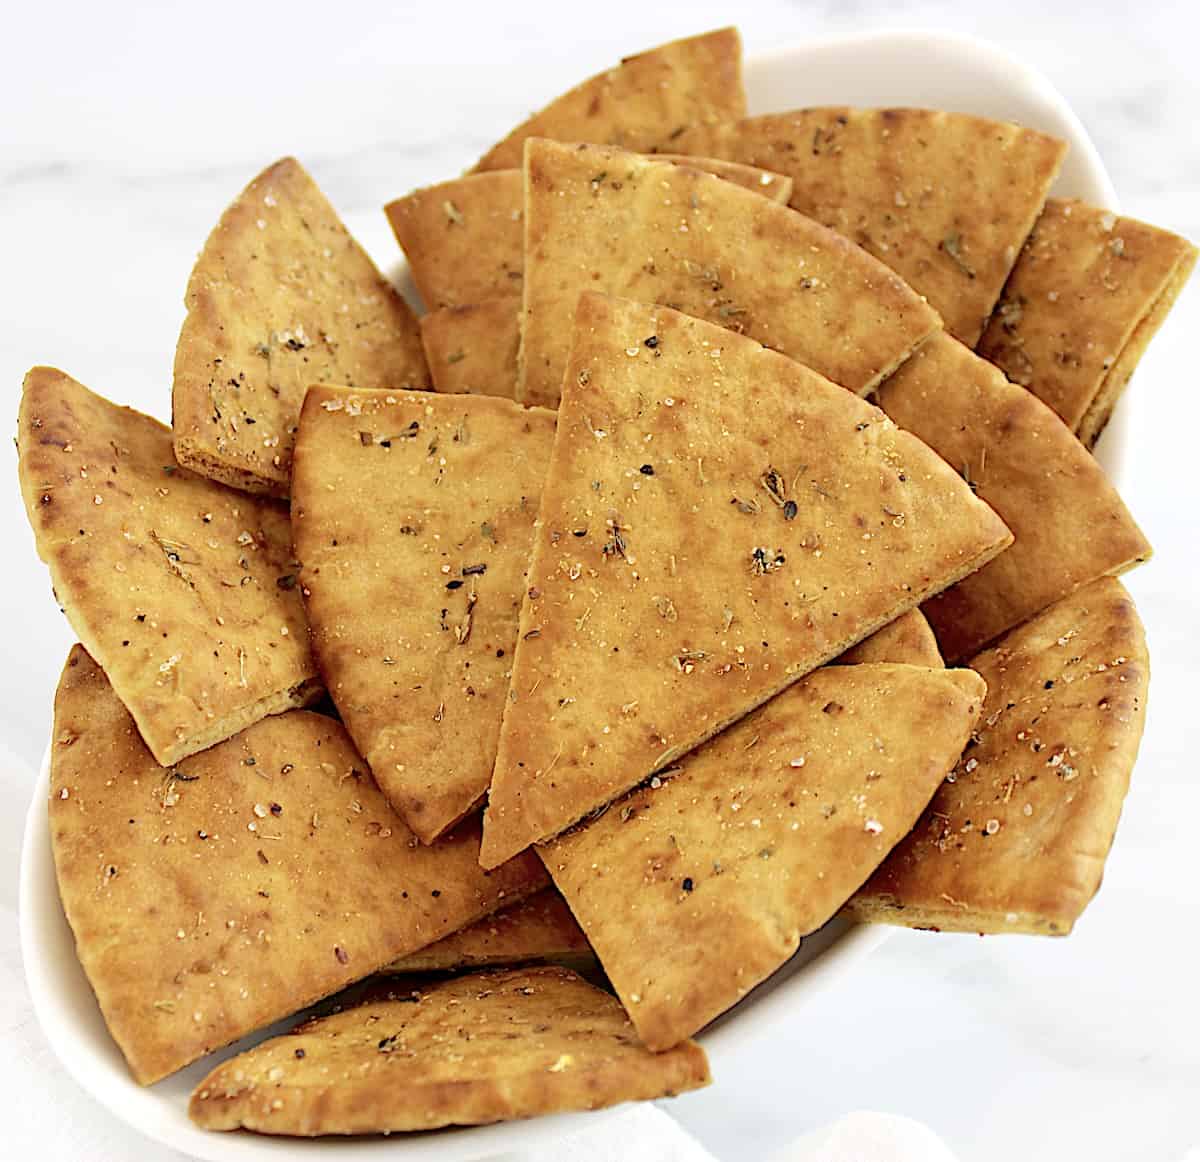
These easy homemade pita chips are great by themselves or with a salad. But you can also serve them with some of these tasty dips:
- Roasted Garlic Hummus
- Cowboy Caviar
- Spinach Artichoke Dip
- French Onion Dip
- Sausage Rotel Dip
- Crab Rangoon Dip
- Buffalo Chicken Dip
These chips would go perfectly with this tirokafteri (Greek Feta Dip) or this Ricotta Dip!
🔄 Substitutions and Additions
- Pita bread: Feel free to use regular or whole-wheat pita bread.
- Parmesan cheese: For a tasty topping, sprinkle grated Parmesan cheese over the pita chips right before baking.
- Paprika: Add a dash of smoked or sweet paprika to the seasoning mix for a hint of smokiness.
- Add some heat: For a kick of heat, add a pinch of cayenne pepper, crushed red pepper flakes, or some of this Cajun seasoning to the spice mixture.
- Everything Bagel Seasoning: Sprinkle some of this homemade Everything Bagel Seasoning over the pita chips before baking.
- Ranch-flavored: If you love ranch-flavored chips, you can use this homemade dry Ranch Seasoning Mix with or instead of the recipe seasonings.
Are Homemade Pita Chips Healthy?
Homemade pita chips are certainly a healthier alternative to store-bought chips, depending on how they are prepared and the ingredients used. This recipe uses healthy olive oil instead of canola oil, which adds to its nutritional value. Of course, with most snacks, portion control is important.

Can I Use Flavored Olive Oils?
Absolutely. Flavored olive oils, like garlic-infused or chili-infused, can add a lot of extra flavor.
Can I Make Them in the Air Fryer?
If you're making a small batch, the air fryer is a great choice. After mixing your pita wedges with olive oil and seasonings, add them to an air fryer basket. Cook at 400F for about 5-8 minutes, flipping half way through.
Are These Pita Chips Gluten-free?
The pita bread used is made from flour, which contains gluten. If you want to make them gluten-free, look for a gluten-free pita bread.
Are Pita Chips Considered Bread?
Technically, they are considered bread since they are made with pita bread that is sliced and baked until crunchy.

🍽️ More Tasty Appetizer Recipes
- Smoked Salmon and Goat Cheese Crostini
- Easy Bruschetta
- Burrata Caprese
- Mini Gruyere Quiches
- Mushroom and Nut Vegetarian Sausage Rolls
Homemade Pita Chips
Ingredients
- 3 pita bread, pocket type
- 2 ½ tablespoons olive oil
- ½ teaspoon garlic salt
- ¼ teaspoon dried oregano
- ¼ teaspoon dried thyme
- ¼ teaspoon ground black pepper
Instructions
- Preheat oven to 400°F.
- Take each pita and cut them into 8 triangles, like slicing a pizza. You can use a pizza cutter, but I just used a sharp knife.
- Add them to a large mixing bowl.
- In a small mixing bowl, add in the olive oil, thyme, oregano, garlic salt and ground black pepper.
- Whisk to combine, then pour over the pita in the mixing bowl.
- Gently toss to combine, then place them on a baking sheet that’s been brushed or sprayed with olive oil.
- Make sure they are in one layer and not overlapping.
- Bake for 9-11 minutes or until golden and crisp.
- Allow them to cool slightly before serving and they will continue to crisp as they cool.
*Make sure to scroll up and read the post for substitutions, additions and helpful tips for making this recipe.
*Nutritional data is provided as a courtesy and is accurate to the best of my knowledge. You can verify it using the nutrition calculator of your choice. All data is based on net carbs, without sugar alcohol: Swerve, Erythritol, Monk Fruit or Allulose.
© Copyright for Nutritious Deliciousness. Please use the share buttons to share on social media, but please do not copy/paste the recipe.


Vickie
Looks amazing.
Nutritious Deliciousness
They are and so easy to make too.
Henrietta
Seems so easy.
Nutritious Deliciousness
They really are and they taste so much better than store-bought.
Sandra
Wow….so easy to make.
Nutritious Deliciousness
They are SO easy! Perfect for a quick snack.